DIY Upright Adirondack Chair
Kick back without having to lay back.
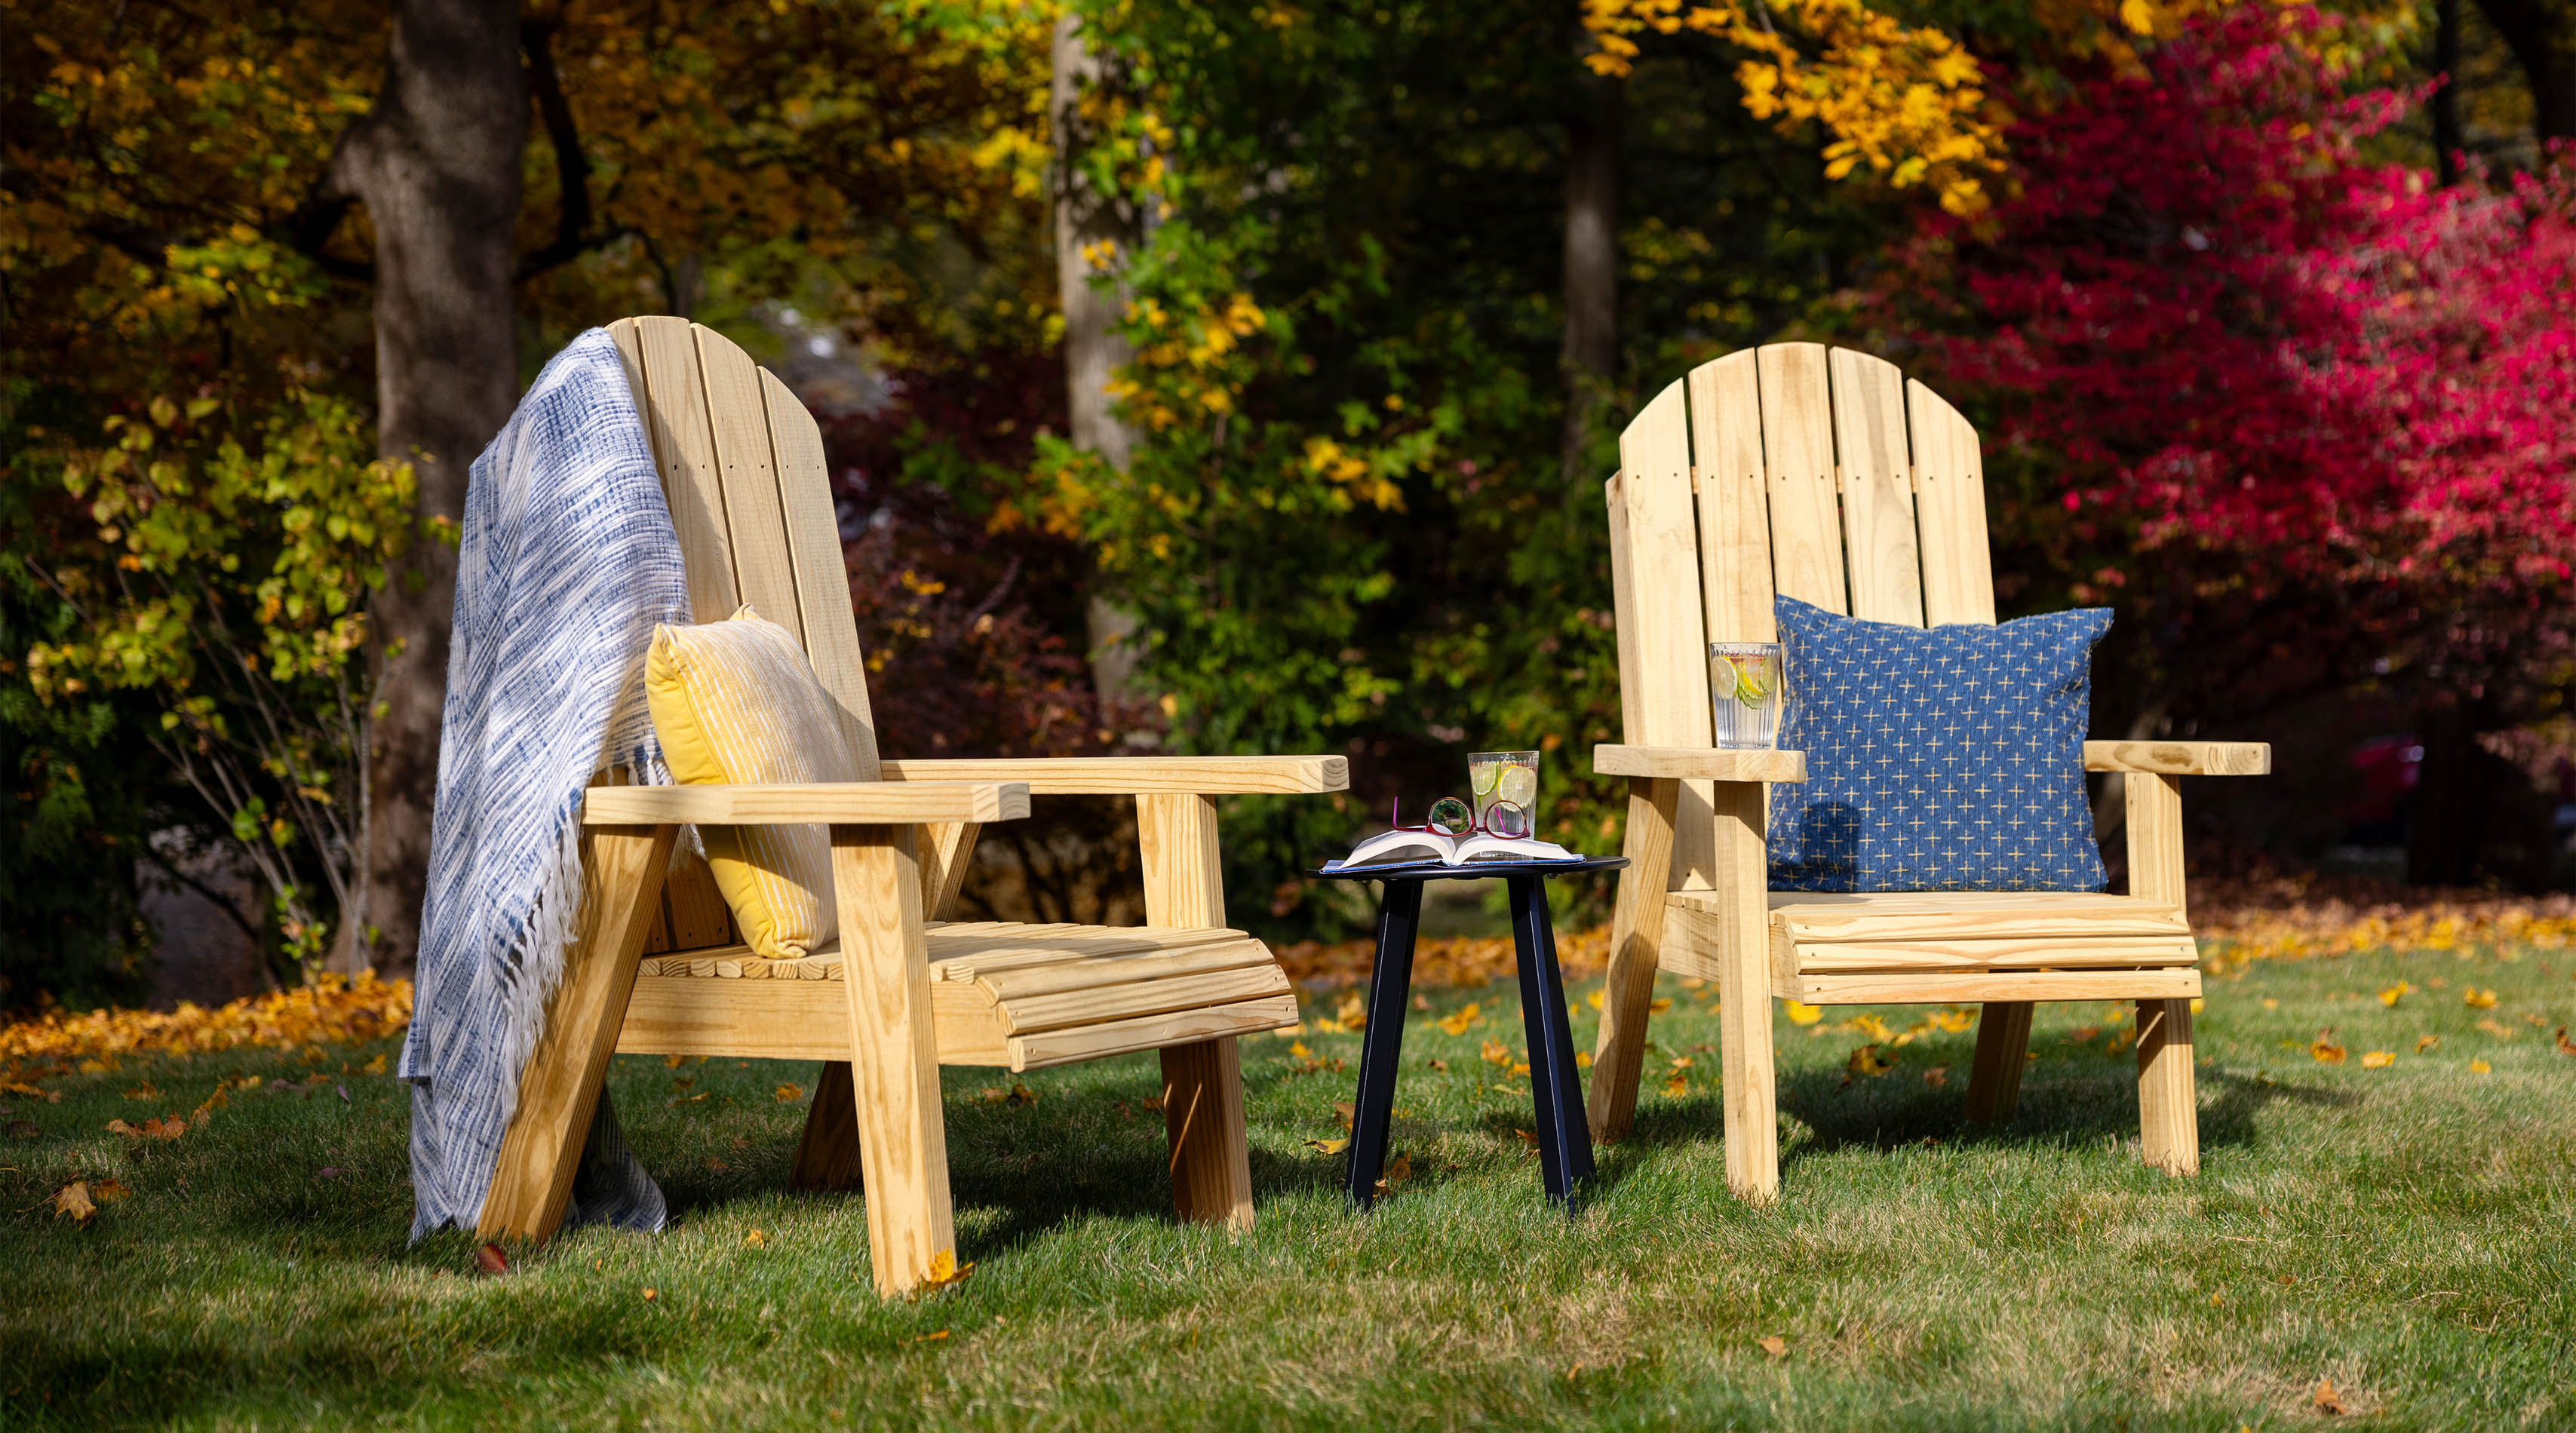
Both contemporary and timeless at the same time, the DIY Upright Adirondack Chair will upgrade your outdoor seating. Not only is this DIY project on trend, but it can also be completed in a weekend for years of use. The accessibility of this plan helps preserve the stiffest of knees while preserving a traditional Adirondack look.
Download the DIY Upright Adirondack Chair plan today.
Important reminders before you get started:
If you choose to stain and seal your new DIY Upright Adirondack Chair, we recommend YellaWood Protector® semi-transparent stain and water repellent wood sealer for long-lasting beauty and protection.
Before you get started, please read our info on safety, fasteners and building tips.
Before building, please consult our Terms of Use.
Watch the DIY Upright Adirondack Chair video for step-by-step Instructions.
Materials
- (5) 1 x 2 x 8' YellaWood® pressure treated pine
- (3) 1 x 4 x 8' YellaWood® pressure treated pine
- (4) 2 x 4 x 8' YellaWood® pressure treated pine
- 2 ½" YellaWood® fasteners + appropriate bit
- 1 5/8" YellaWood® fasteners + appropriate bit
- 3" YellaWood® fasteners + appropriate bit
- YellaWood Protector® Stain and Sealer
Tools
- Pencil
- Measuring tape
- Miter saw (or chop saw)
- Jigsaw
- Drill / driver
- Drill bit
- Clamps
- Square
- Radial sander (or sanding block)
- Damp cloth (optional)
- Waterproof wood glue (optional)
- Paint / stain brush
Cut List
- A. (14) 1 x 2 x 20.5"
- B. (5) 1 x 4 x 32"
- C. (4) 2 x 4 x 26"
- D. (2) 2 x 4 x 28"
- E. (2) 2 x 4 x 22.5"
- F. (4) 2 x 4 x 20.5"
- G. (1) 2 x 4 x 17.75"