
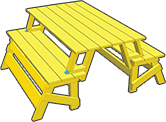
CONVERTIBLE FOLDING PICNIC TABLE
Double up on your backyard enjoyment. This two-in-one convertible folding picnic table bench combines a classic picnic table with a relaxing pair of benches in an impressive multi-purpose piece of furniture.
Processing time is minimal because there are no complex cuts, just a few angle cuts on a miter saw. After the two bench seats are assembled, it's on to the arm assemblies and backrest. These four components then come together so the arm assemblies rotate to allow the backrests to become a tabletop.
Tackle these easy-to-follow folding picnic table bench plans if you'd like to spend a little time in the shop and extend your time outdoors. The dual function truly maximizes this piece's value, and you'll likely be finding yourself switching between benches and tabletop often enough to consider building this project again for a friend or loved one.
Before you get started, please read our info on safety, fasteners and building tips.
Before building, please consult our Terms of Use.
Convertible Table
Materials
- (8) 2 x 4 x 10' YellaWood® brand pressure treated pine
- (1) 2 x 6 x 12' YellaWood® brand pressure treated pine
- (1) 2 x 2 x 8' YellaWood® brand pressure treated pine
- (6) 5/4 x 6 x 12' YellaWood® brand pressure treated pine
- (1) 1/2 lb box 2" wood screws + appropriate bits
- (1) 1/2 lb box 2 1/2" wood screws + appropriate bits
- (4) 2" galvanized hinges
- (2) 4" galvanized barrel locks
- Preferred wood finish
- YellaWood Protector® Stain and Sealer
Tools
- Pencil
- Measuring tape
- Miter saw
- Drill/driver
- Combination countersunk bit (with 2" long 1/8" bit)
- Clamps (two at least 12" long)
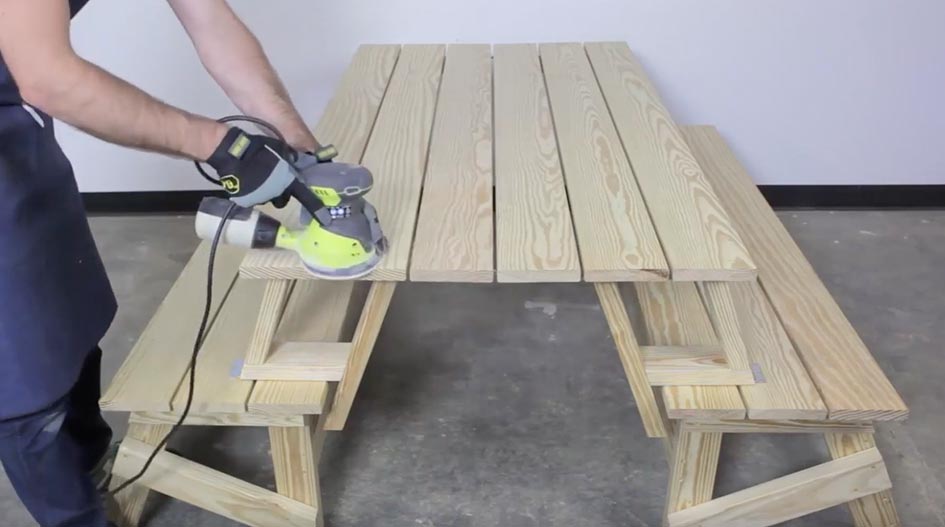
- Radial sander
Plan Preview
CONVERTIBLE PICNIC TABLE PLAN PREVIEW
Use this step-by-step plan from the makers of Yellawood® for making a DIY convertible table. You’ll create two benches that fold into a table. This picnic table bench is perfect for the backyard.
A summary of the steps is shown below:
1 Prep. Cut all parts listed and label them for assembly.
2 Benches. Create four bench legs using screws and four pieces of wood per leg. Space out two bench leg assemblies and attach the listed parts to both sides. Repeat for the other bench. Place down three pieces to create one bench seat and secure them together. Then secure the bench to the legs using support pieces. Repeat steps for the other bench.
3 Backrests. Make four arm assemblies, using four pieces each. Secure the pieces using screws. Sand the specified part of the arm assemblies with coarse medium grit sandpaper or a radial sander block. Lay out and space three pieces for the backrest and attach two arm assemblies to either side. Use screws and spacers and clamp as needed in this process. Repeat this step for the other backrest.
4 Assembly. After making appropriate measurements, place the backrest assembly on the top of the bench. Secure the middle screw of a hinge on either side of the assembly. Test that the backrest pivots easily to and from each position. Secure all screw holes in the hinges. Repeat previous steps to build two benches. Add a barrel lock and bolt to the benches opposite of each other. Repeat on the other end of the table.
5 Finishing. Ease any sharp edges using a radial sander or sanding block with medium grit. Apply preferred finish to the wood.