DIY PLANTER BOX
Accent decks and patios – learn how to build a planter box from YellaWood.
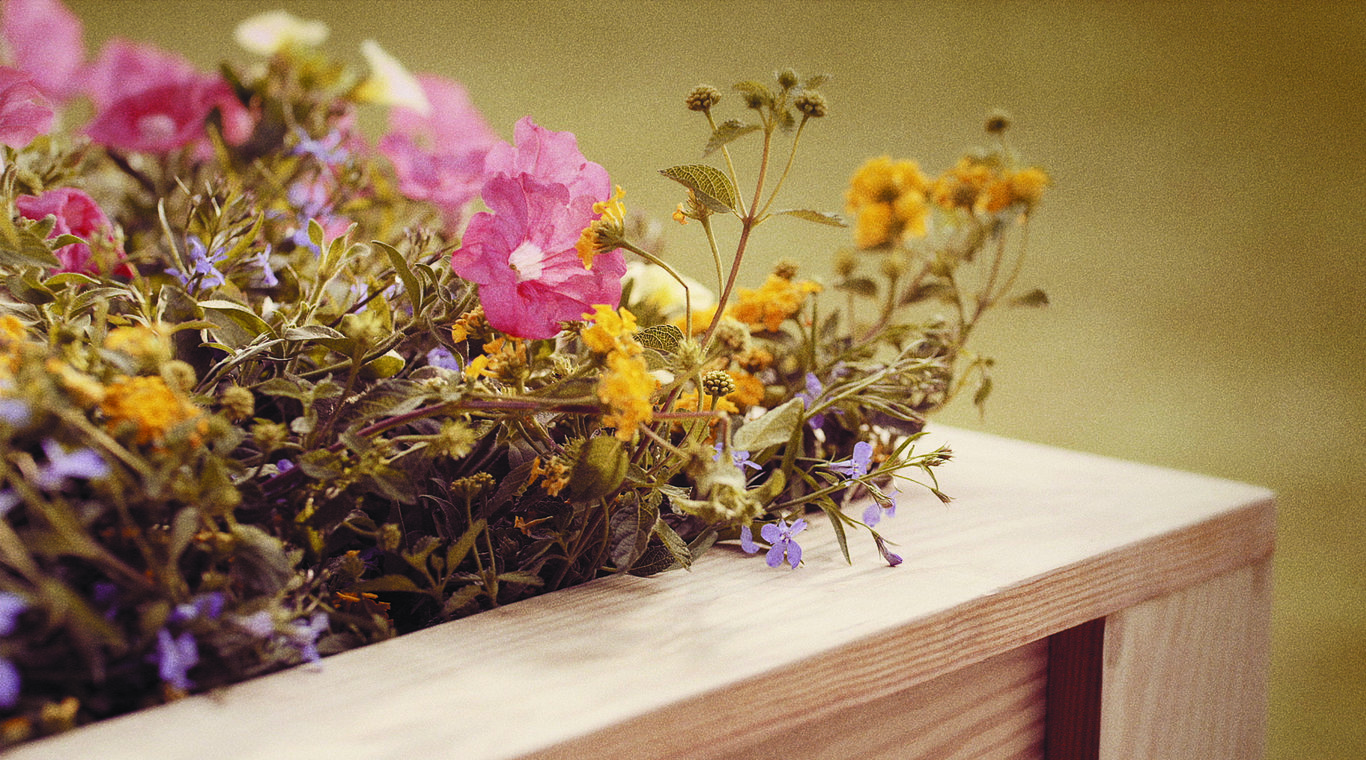
Building a planter box is an easy, fun project that can be built in a few hours but will provide years of attractive use. Because the YellaWood planter box plan is so simple, you can build several planter boxes in a day or weekend. Use them as enclosures for potted plants, growing any flower, vegetable, fruit or herb you like.
The planter box plan can easily be modified to build a bigger box to house several plants or customized to fit a specific space. It features effortless joinery reinforced with waterproof glue, exterior-grade screws and galvanized-finish nails. These, when coupled with a weatherproof seal, create a durable container to house and protect plants for years.
The DIY planter box looks great on the deck or in the yard and is the perfect size for growing a single tomato plant or a few small patches of herbs. You can even bring the planter indoors during colder months and enjoy fresh-grown herbs or vegetables year-round. (Place it on a plastic tray or boot mat to catch any water that may drip down through the weep holes.)
Get started on this easy-to-follow, 11-step DIY planter box plan, free from YellaWood, full of tips and pictures, for years of garden greatness.
Before you get started, please read our info on safety, fasteners and building tips and consult our Terms of Use.
How to build a planter box: Video

What you’ll need to build a planter box:
Materials
- (2) 1 x 4 x 12' YellaWood® brand pressure treated pine
- (1) 2 x 4 x 8' YellaWood® brand pressure treated pine (to be cut in half for legs)
- (3) 1 x 8 x 8' YellaWood® brand pressure treated pine
- One lb. 1 ½" exterior-grade wood screws
- Waterproof exterior wood glue
- 1 ½" galvanized finish nails
- YellaWood Protector® Stain and Sealer
Tools
- Miter saw (or circular saw)
- Table saw
- Jig saw (or hand saw)
- Drill/driver
- Hammer
- Nail set
Plan Preview
PLANTER BOX PLAN PREVIEW
Get a sneak peek into how to build a planter box. For a pro tip, cut parts G and H of the plan after you’ve assembled the rest of the box for a flush fit and neater appearance. You may also want to keep a damp rag handy to clean up any glue drips while you work.
- Make your cuts. Cut the sides, legs, cleats and corner trim according to the dimensions on the cut list. You can also cut the bottom pieces and set them aside for more cuts after you’ve assembled the box.
- Attach shorter side pieces to legs. Use glue first, followed by screws (always drill pilot holes to avoid splitting the wood). Keep the edges flush and then glue and screw the cleats in before attaching the longer sides.
- Assemble the bottom of the box and drill drainage holes. Mark where to notch the legs, remove the boards and notch before replacing in the box. You don’t need to attach the bottom boards to the cleats, but you can. Drill drainage holes in each board.
- Attach the trim, and finish. Sand and apply a weatherproof seal or stain. You may also want to attach a piece of landscape fabric in the bottom, but it’s not necessary.